

 Share This Page
| Home | | 3D Printing | | | | Share This Page |
A SolveSpace design and 3D printing project
— P. Lutus — Message Page —
Copyright © 2026, P. Lutus
Most recent update:
(double-click any word to see its definition)
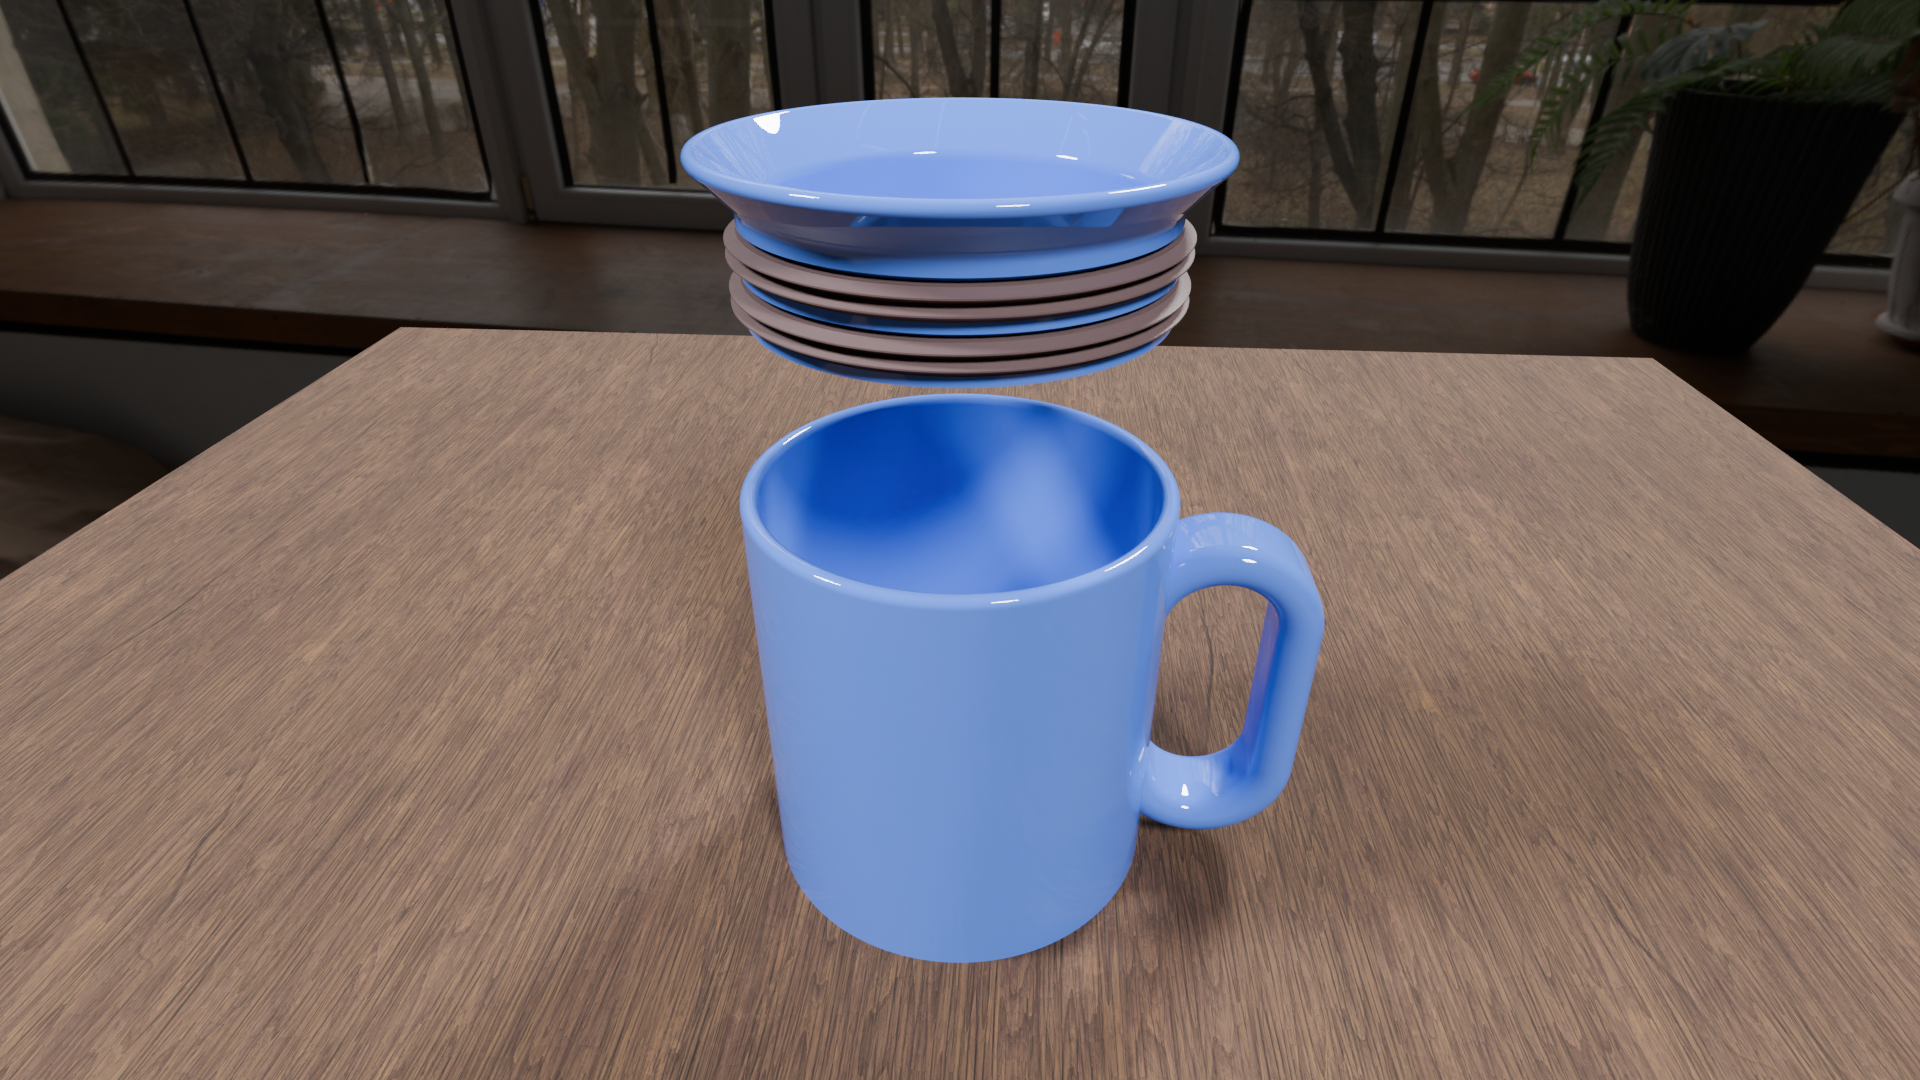
This is a SolveSpace design and 3D printing project for a waterproof cup — a custom-designed cup with a waterproof lid. I initially designed this cup for myself — I've been using a protein drink that comes in dry form. The idea is, you put some of the protein powder in a waterproof container, add water, and shake. Then you pour the drink into a cup.
After a few repetitions of this laborious task, I started thinking about a 3D printed cup that has its own tight-fitting, waterproof lid. Just to save steps — and as an excuse for another SolveSpace/3D printing project that I can share.
This page summarizes the project and includes links to all the files you need (free, open-source), but its other purpose is as a resource page for a YouTube video linked in a list below.
So ... let's get started!
First, here's a link to my YouTube channel.
Next, here's a list, not necessarily up-to-date, of my YouTube videos about SolveSpace and/or 3D printing, in order of their release date, newest at the top:
- SolveSpace: From Sketch to Product (this article's video)
- Learn SolveSpace Step-By-Step
- Master the Prusa Core One
- Learn SolveSpace: Beginner to Advanced
- Learn CAD/CAM today! with SolveSpace and CadQuery
- Learn 3D Design with SolveSpace
If you are a SolveSpace beginner, watch the bottom video in the list, then work toward the top. If you want to focus on the video for which this article was written, watch the top item in the list.
This project has four parts, each with a SolveSpace design file and a printable STL file (all free and open-source):
The Cup:
Files:
- SolveSpace .slvs file: cup_waterproof.slvs
- Printable .stl file: cup_waterproof.stl
Notes:
This is an intermediate-level SolveSpace project file. If you want to start from scratch and/or make changes to the cup's dimensions, I suggest that you first watch one or more of the SolveSpace introduction videos listed above, before starting this project.
The SolveSpace files listed below are simpler in design — this file is the most complex.
The Lid design with two gaskets:
Files:
- SolveSpace .slvs file: cup_lid_waterproof_dual_gasket.slvs
- Printable .stl file: cup_lid_waterproof_dual_gasket.stl
Notes:
The cup lid has two designs — with one or two gaskets. It's likely that the single-gasket design will do the job, but I designed part of the NASA Space Shuttle decades ago and one of the shuttles later exploded on liftoff because of a badly designed gasket scheme (not my design). Since then I've been in the habit of overdesigning anything that uses gaskets.
The Lid Design with one gasket:
Files:
- SolveSpace .slvs file: cup_lid_waterproof_single_gasket.slvs
- Printable .stl file: cup_lid_waterproof_single_gasket.stl
Notes:
See above. It's likely this one-gasket lid will work satisfactorily, although over years of use, the two-gasket design will hold up better.
The Gasket:
Files:
- SolveSpace .slvs file: gasket_model.slvs
- Printable .stl file: gasket_model.stl
Notes:
This is a bit complicated. I own a Prusa Core One 3D printer, and I can't get it to print soft TPU, which is required to create my own usable gaskets. I can print the stiffer kind of TPU (hardness 95A), but that hardness level isn't suitable for a flexible gasket.
I'm including this file for two reasons. One, others may have 3D printers that can print soft TPU, which would allow them to custom-design the gasket to suit special circumstances. And two, I needed a gasket model to include in my Blender graphic images for this project.
NOTE 1: Because I can't print soft TPU, I use gaskets ordered from Amazon, those identified as meant for "20 oz cups". I would include a direct link, but it's my experience that Amazon listings only last a few weeks. If you order this way, be sure the gaskets you order have an outer diameter of about 7.6cm (3 inches).
NOTE 2: This gasket is intentionally undersized (compared to the lid's diameter) so it fits snugly into the provided mounting grooves. I found this to be necessary to prevent the gasket from rolling out of its groove when attaching the lid. This means the gasket's diameter is not very critical, but its overall height of 6mm and edge depth of 4mm is more critical.
NOTE 3: If you shop for a gasket and don't find an obvious candidate, you can use the SolveSpace model file for guidance about the required dimensions.
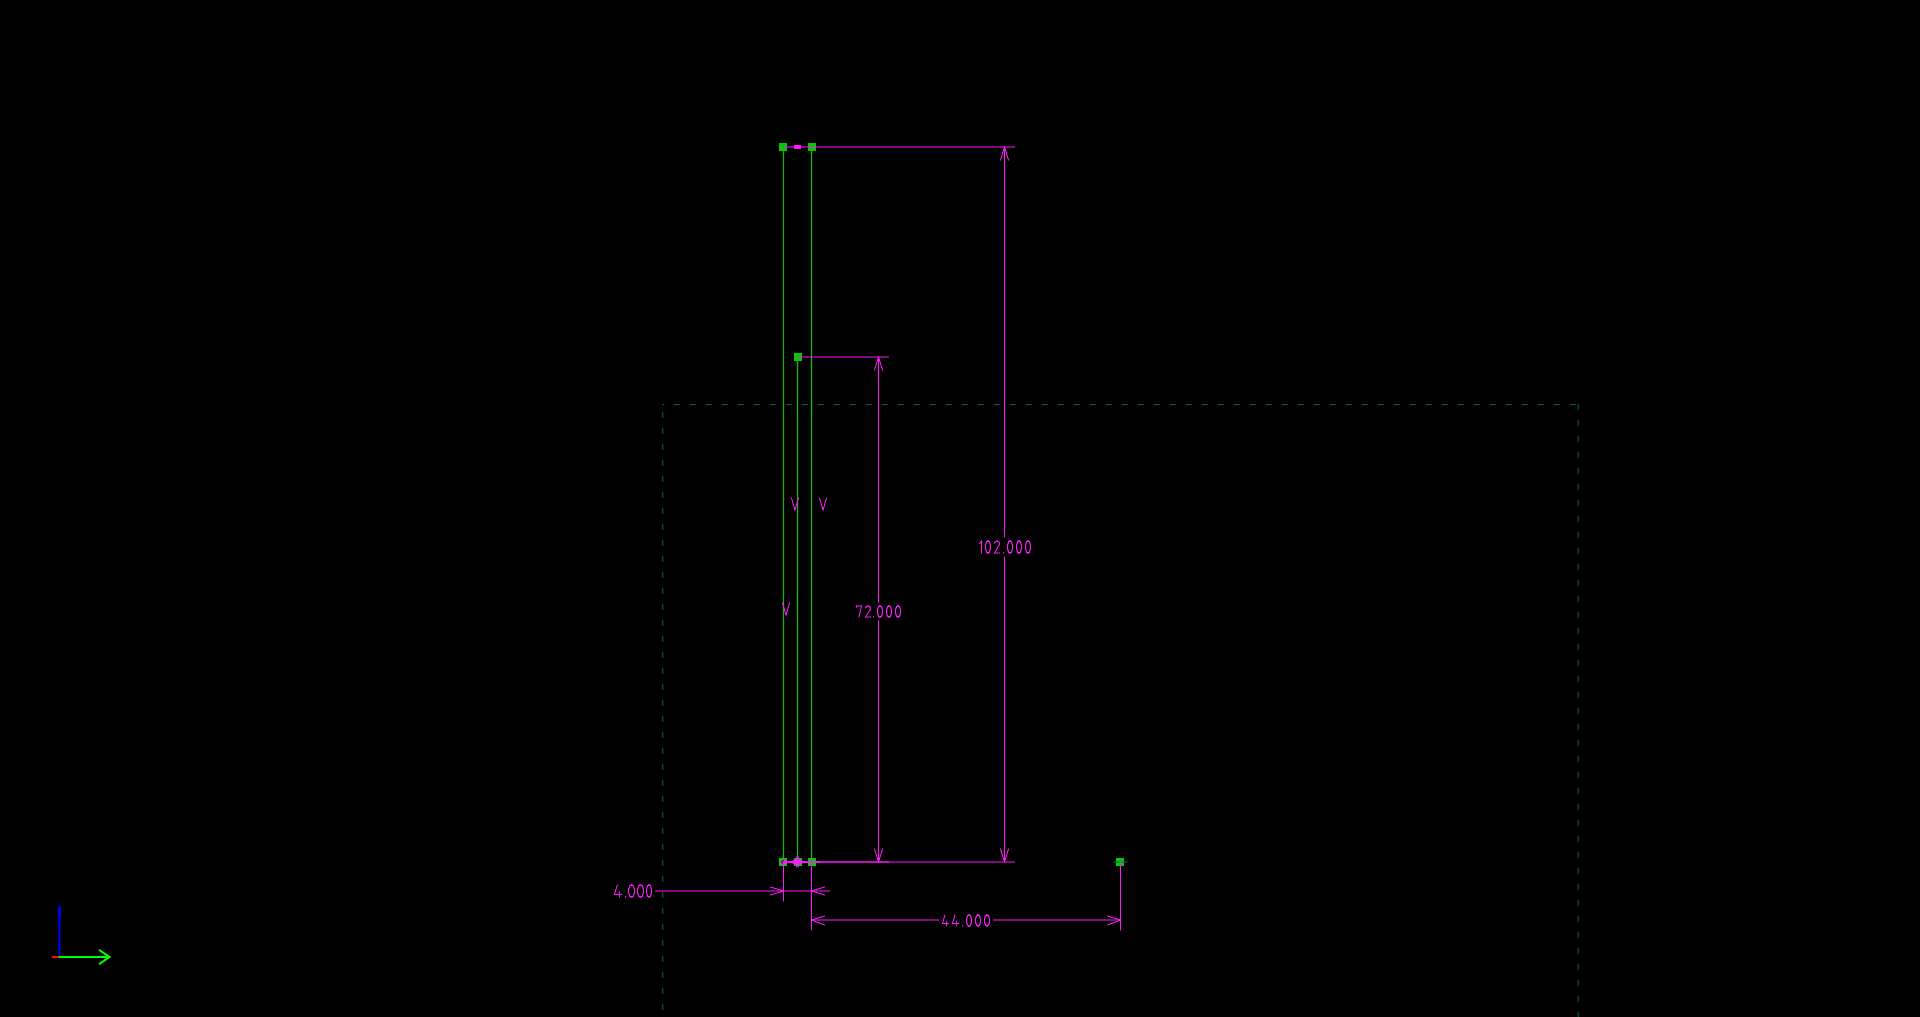
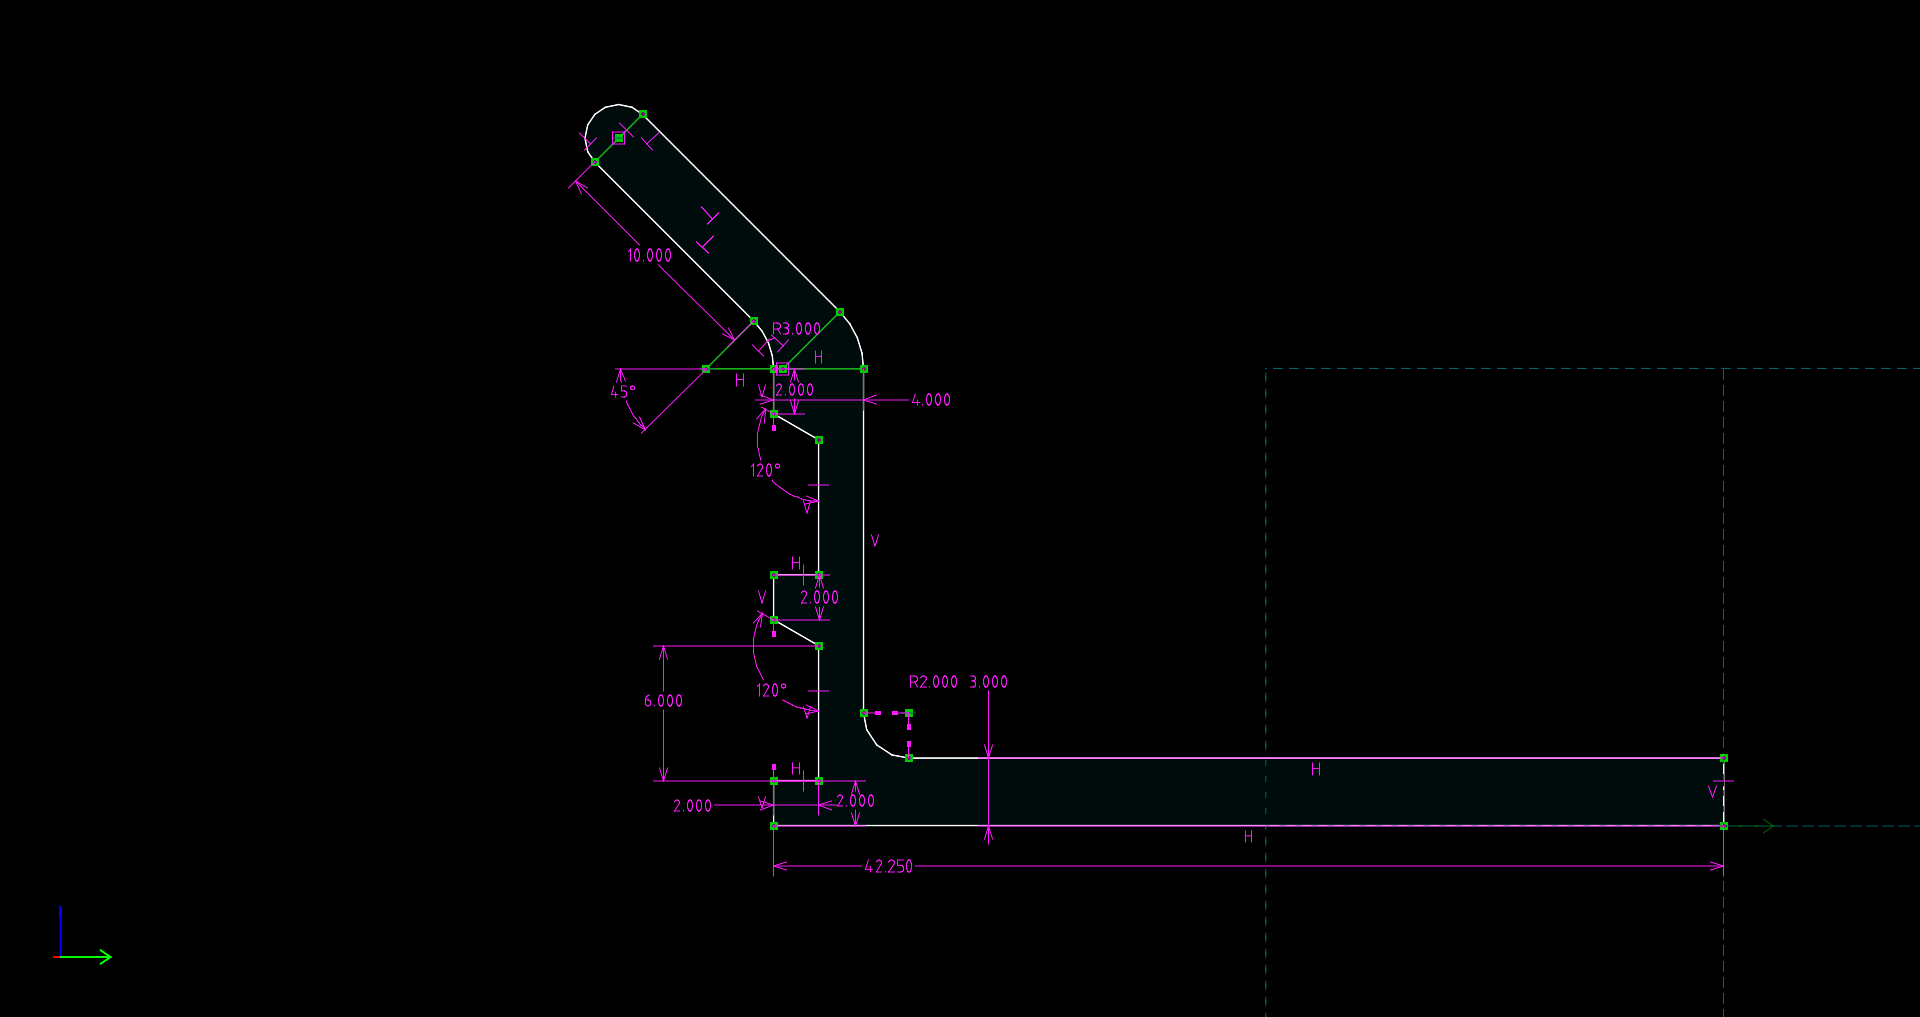
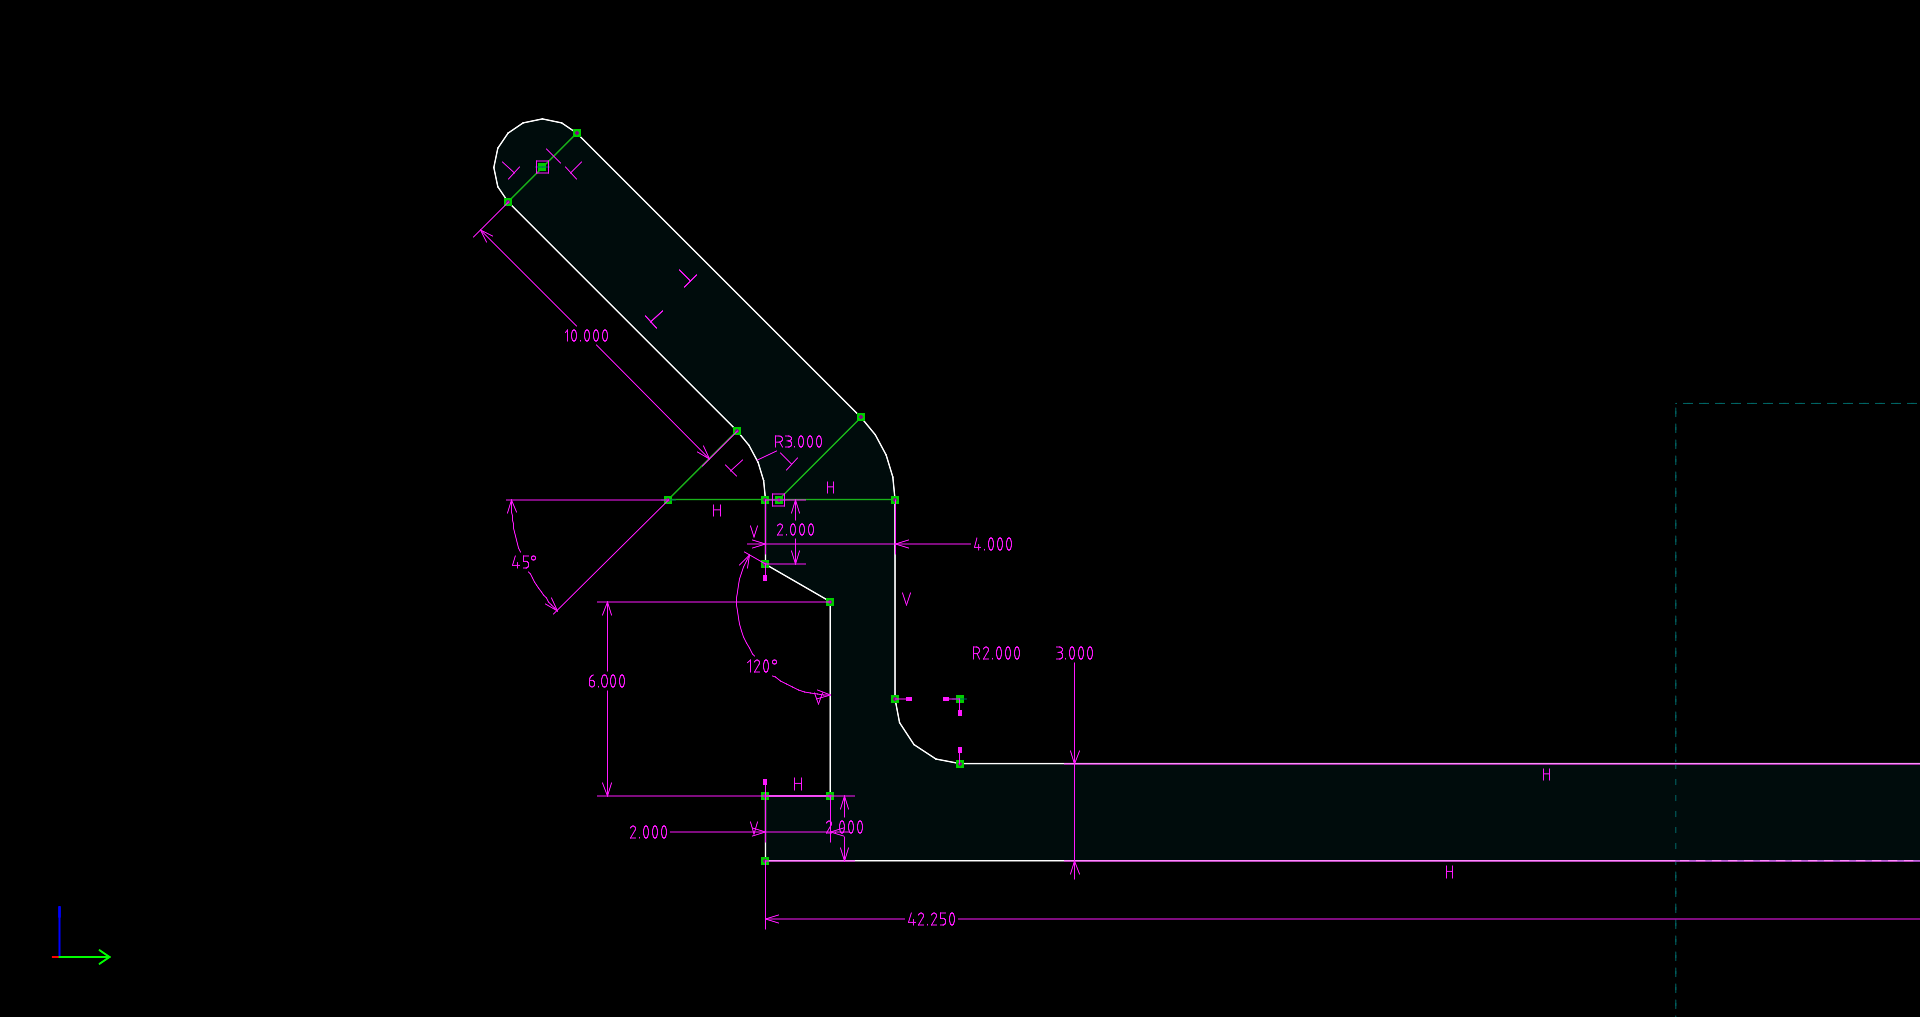
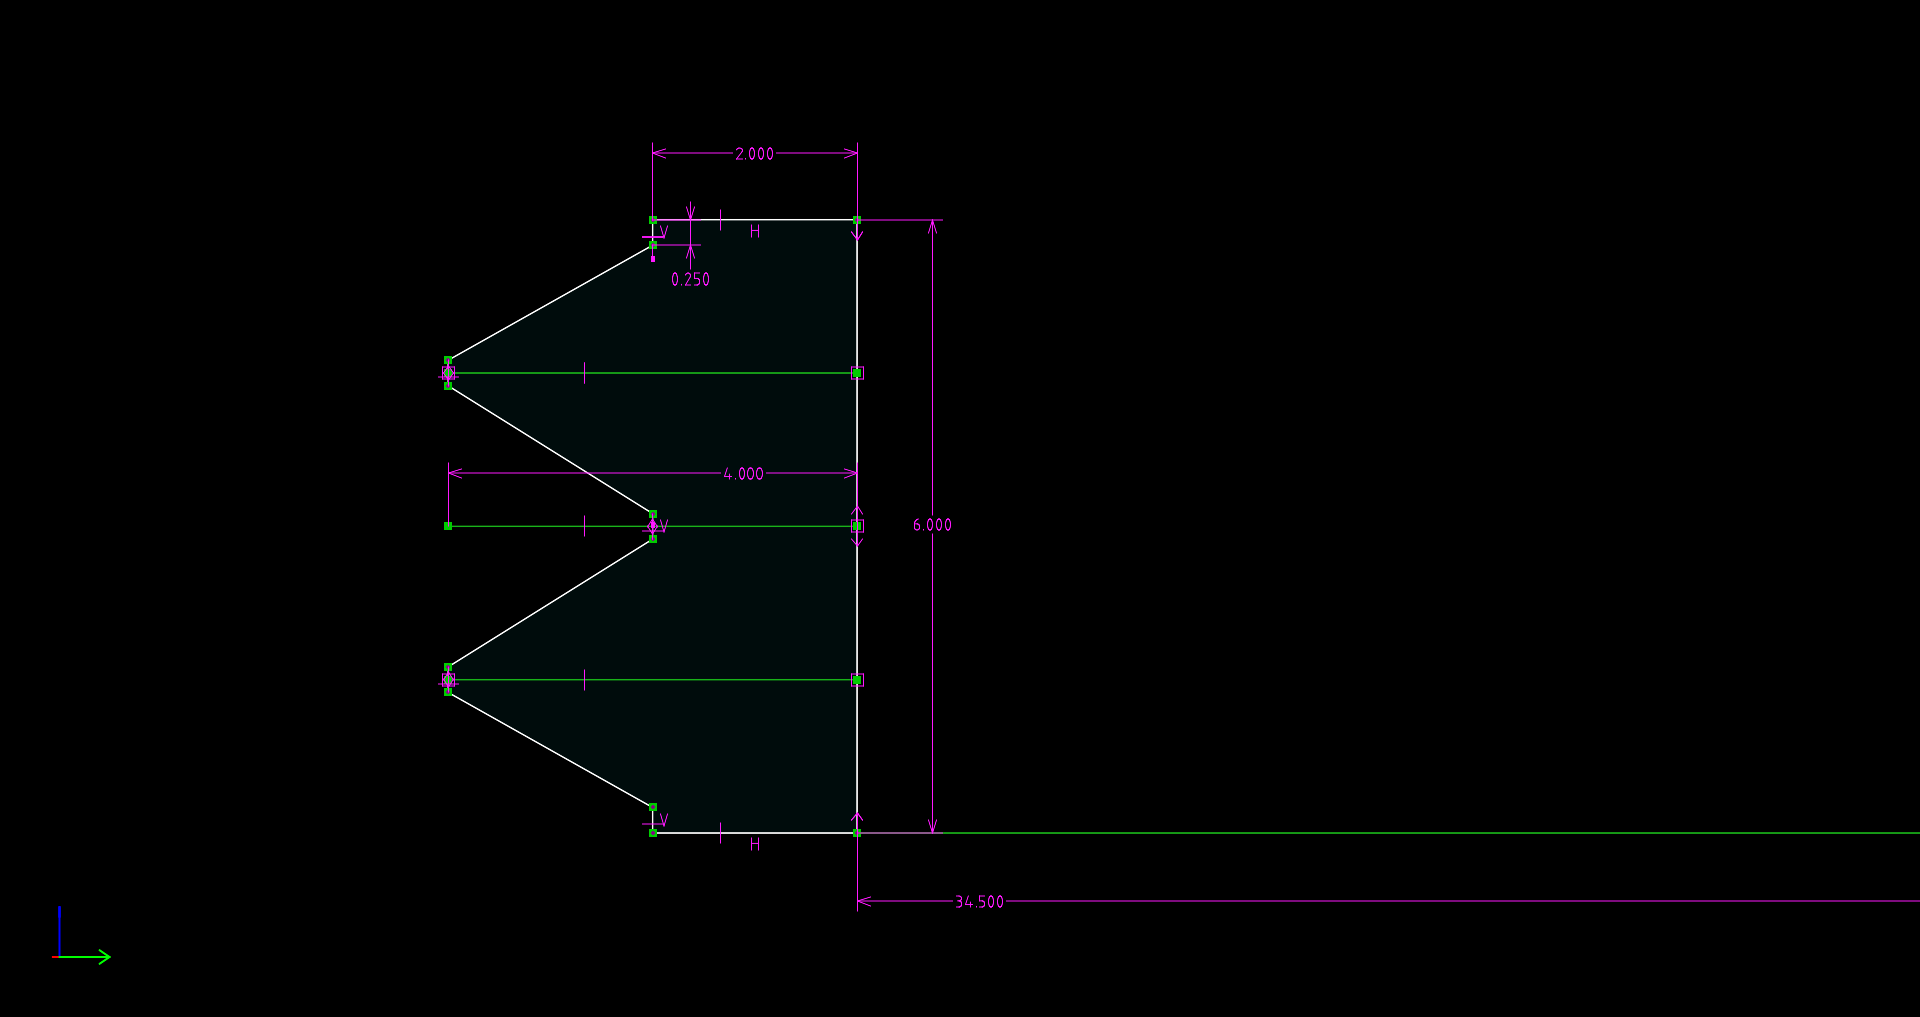
This SolveSpace project relies on a single group named "dimension_reference_diagram" (the first group) to establish most project dimensions — the radius and height of the cup as well as the position of the handle. As explained in the video, this single group is referenced by most of the other groups to control dimensions. The key idea is that changes made to the reference group control the other groups, which means a single dimension change controls the entire project. This project demonstrates SolveSpace's ability to efficiently share dimensions between groups.
The final two groups, named "volume_measure sketch" and "volume_measure_lathe", are not actually part of the printed model -- they're just a convenient way to measure the cup's volume, from the cup's bottom, to the edge of the topmost dimension, automatically excluding the volume lost to an internal curve between the cup's bottom and side.
To use the volume measure, select the group named "volume_measure_lathe", then access menu item "Analyze" / "Measure Volume". The quantity you want is named "volume of current group mesh." In the default design, that volume is 594.108 cubic centimeters, or 20.02 fluid ounces.
This automatic volume calculation saves a lot of hand calculation, as well as taking a small curve into account that would be difficult to exclude in a finite-sized equation, but for those who love math, here are the relevant equations:
Circle area $a$ from radius:
\begin{equation} a = \pi r^2 \end{equation} Cylinder volume $v$ from radius $r$ and height $h$: \begin{equation} v = \pi r^2 h \end{equation}It's important to add that, if a usable volume of 20 fluid ounces is required, one would want to increase the cup's height by at least the height of the lid's overlap within the cup. Or, less practical, increase the cup's radius along with that of the lid (because of the critical gasket-fitting dimensions) — this would be more difficult to get right.
Coffee Drinkers
This project closely resembles a commonly seen coffee mug that has a splash-resisting lid plus a way for the user to get a sip of coffee from time to time. That wasn't my goal, but if people want to see a sip-channel added to the design, just post a comment to my YouTube channel community page.
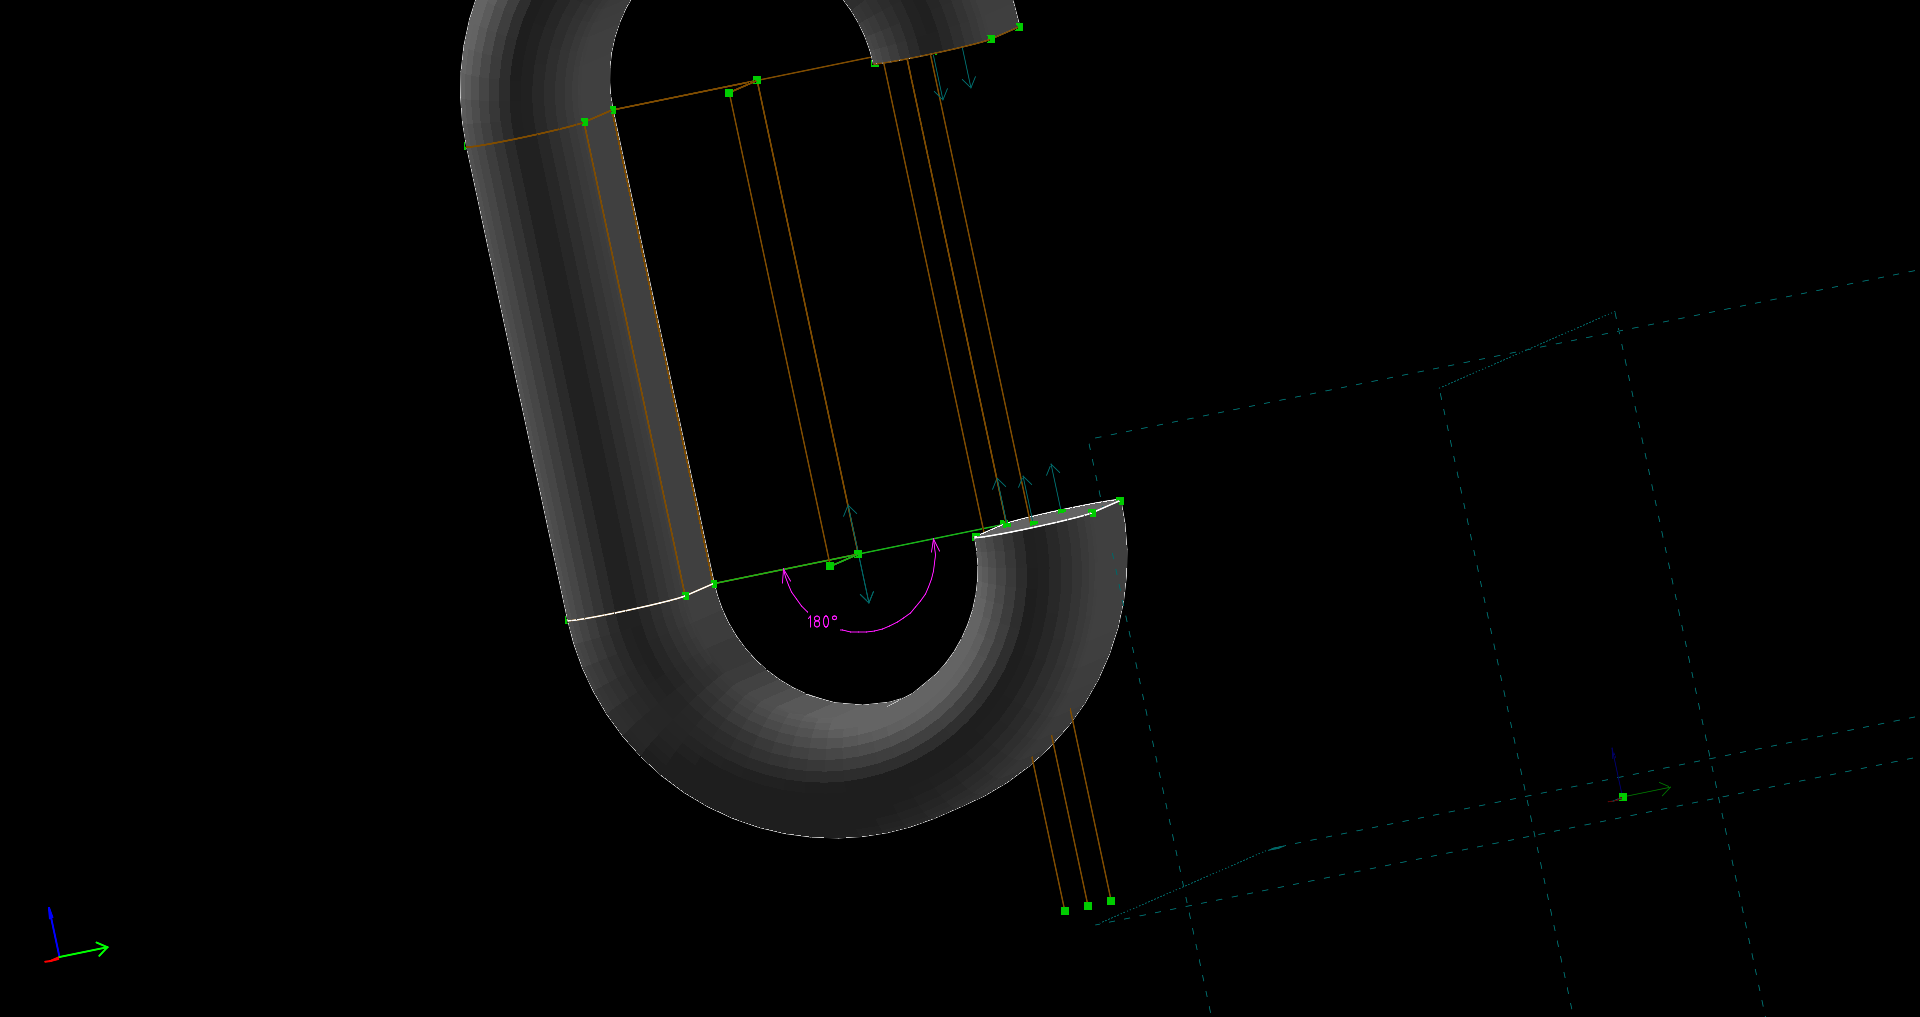
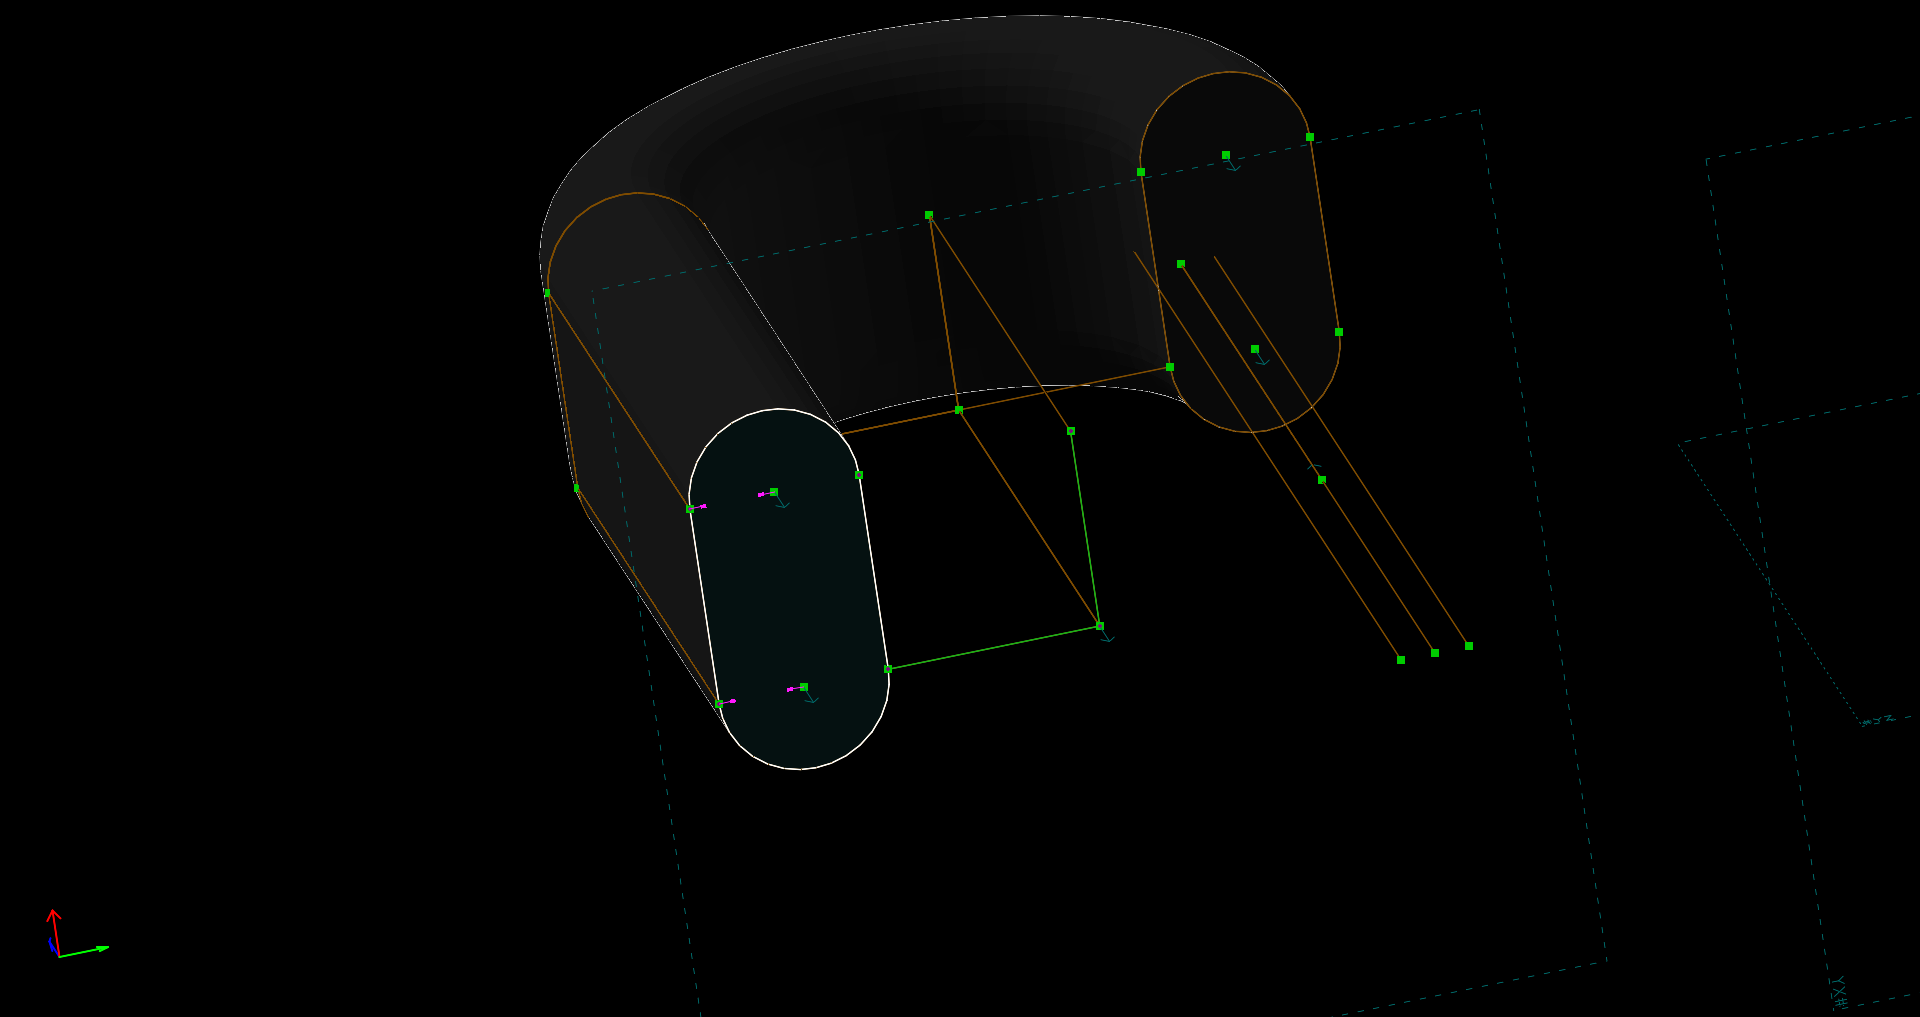
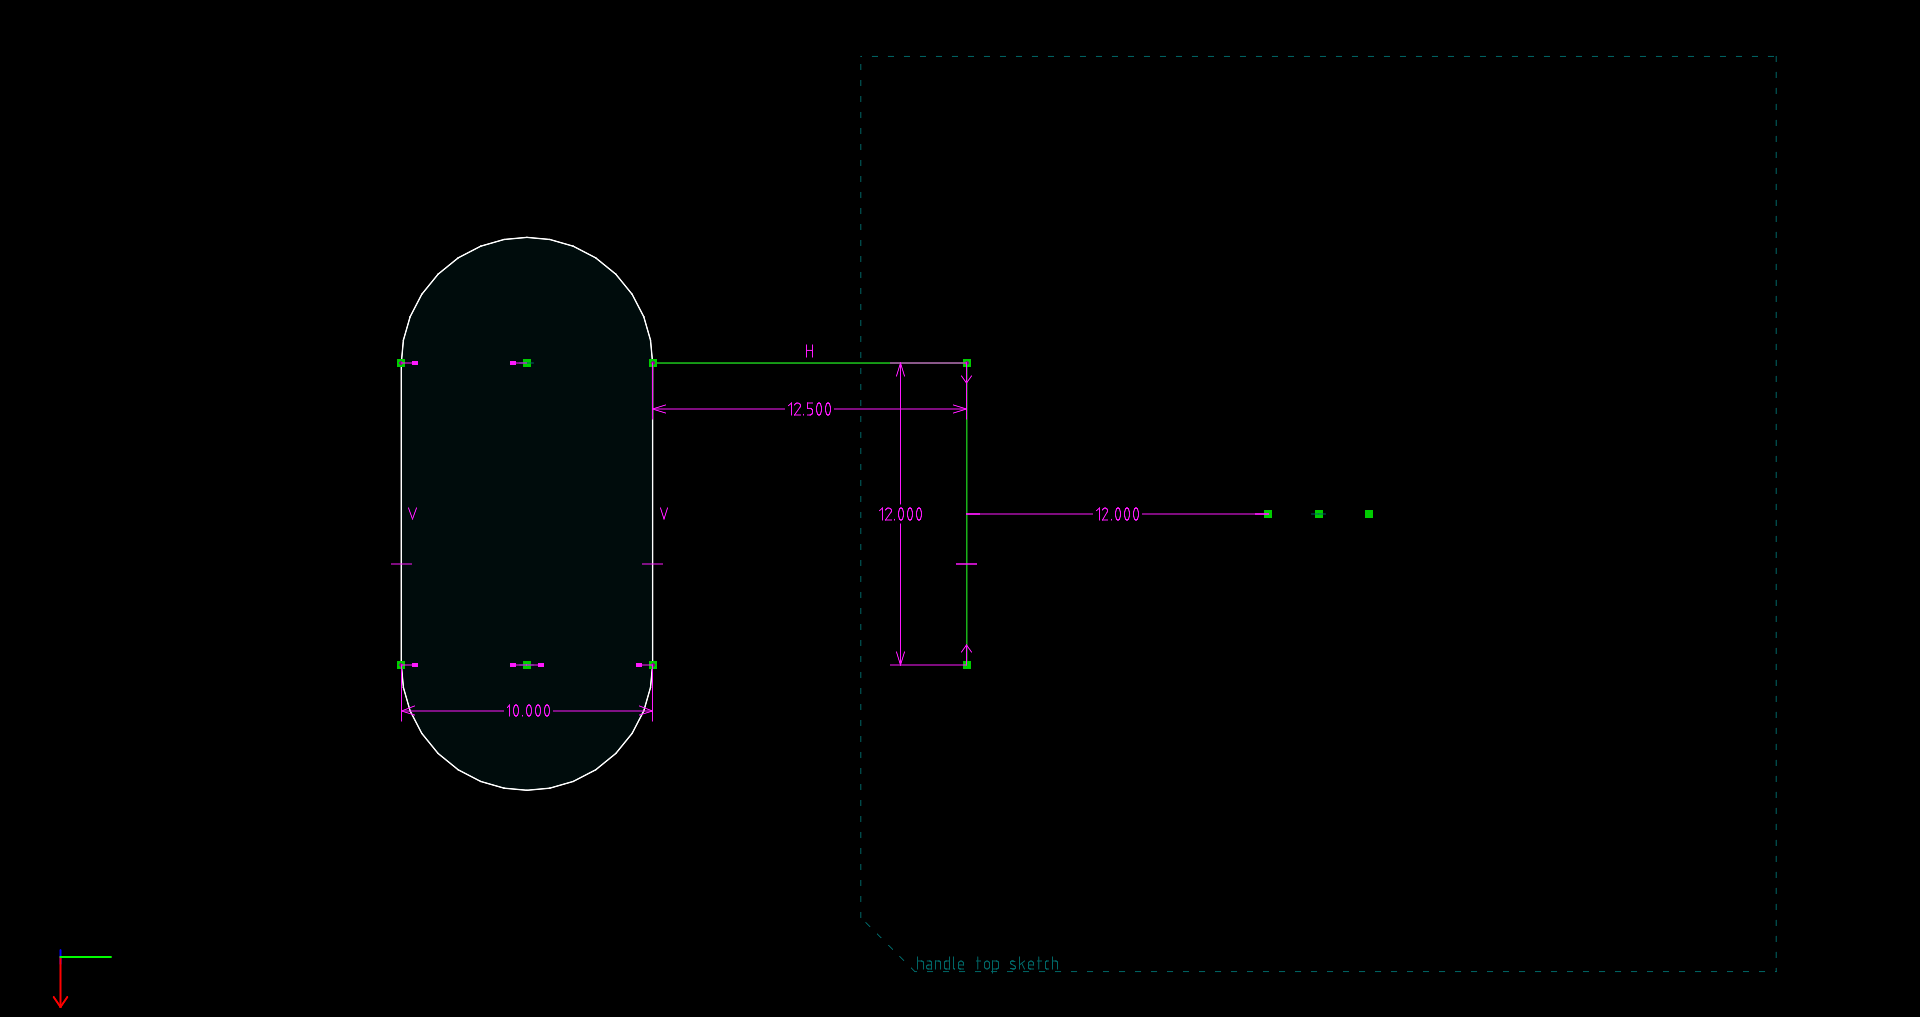
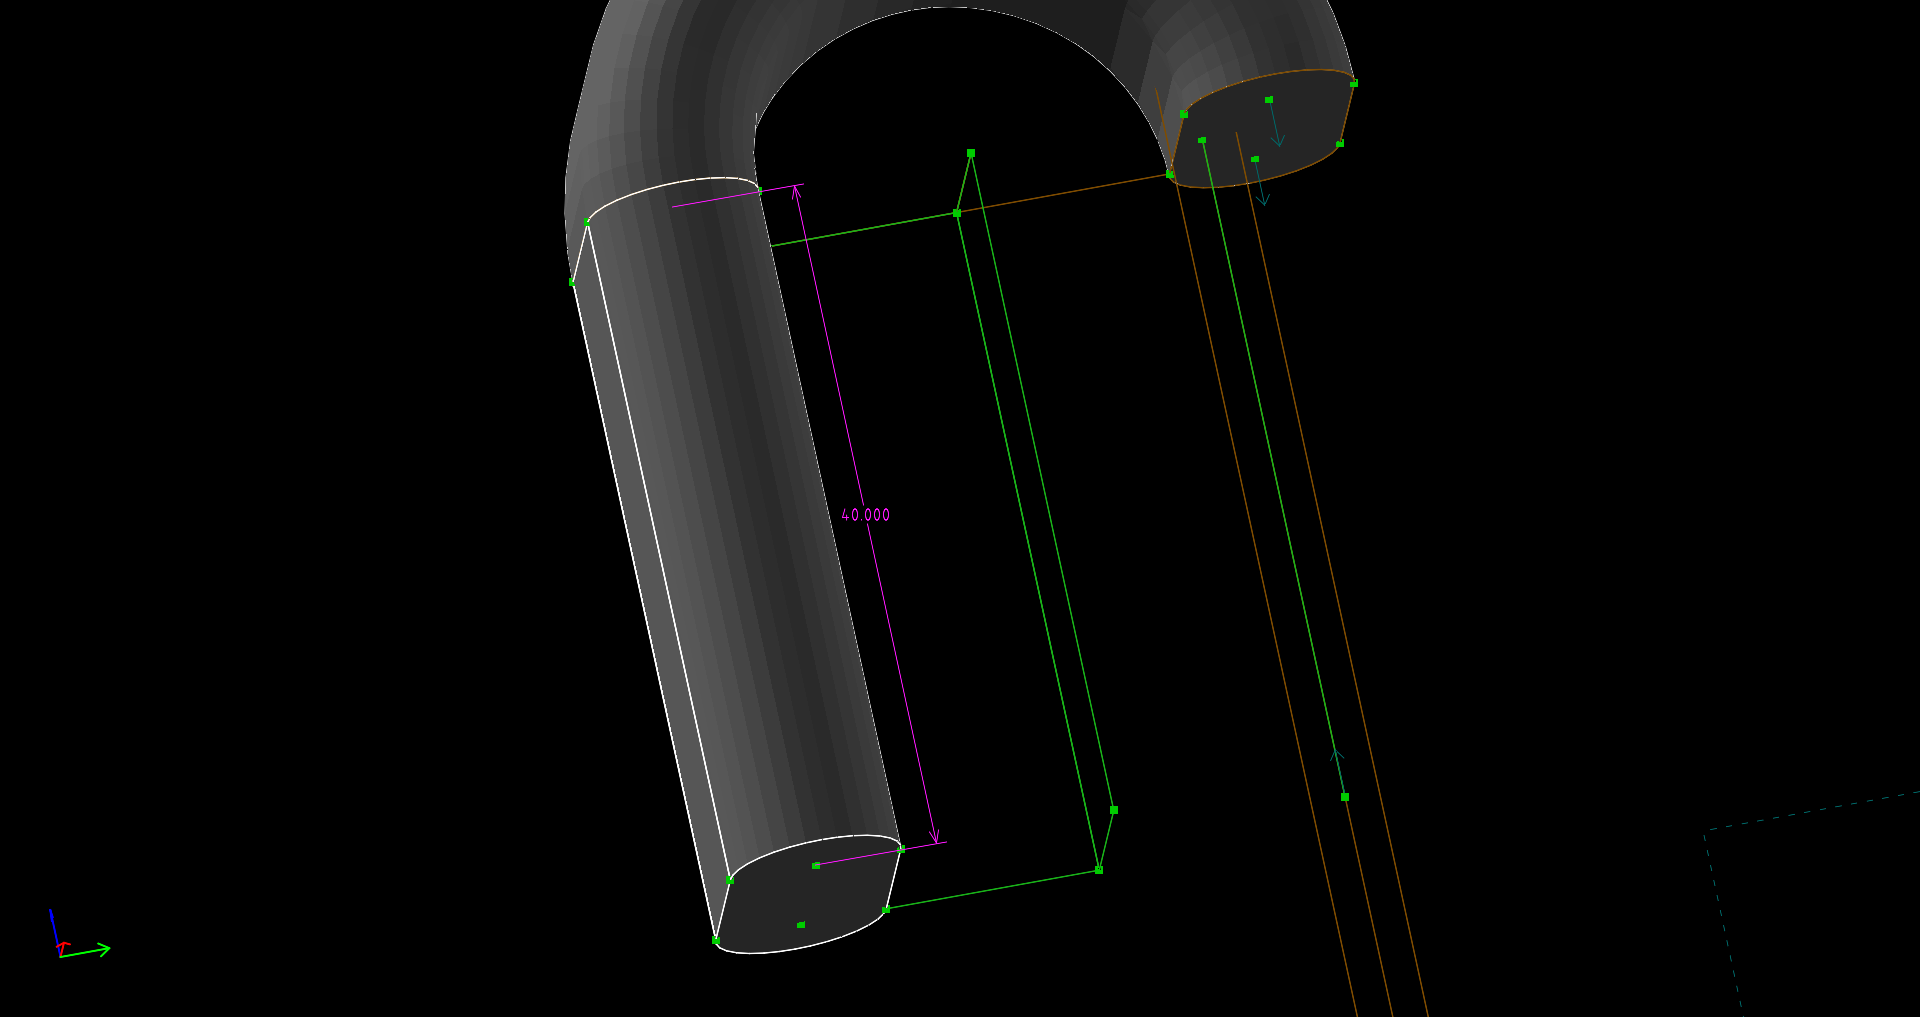
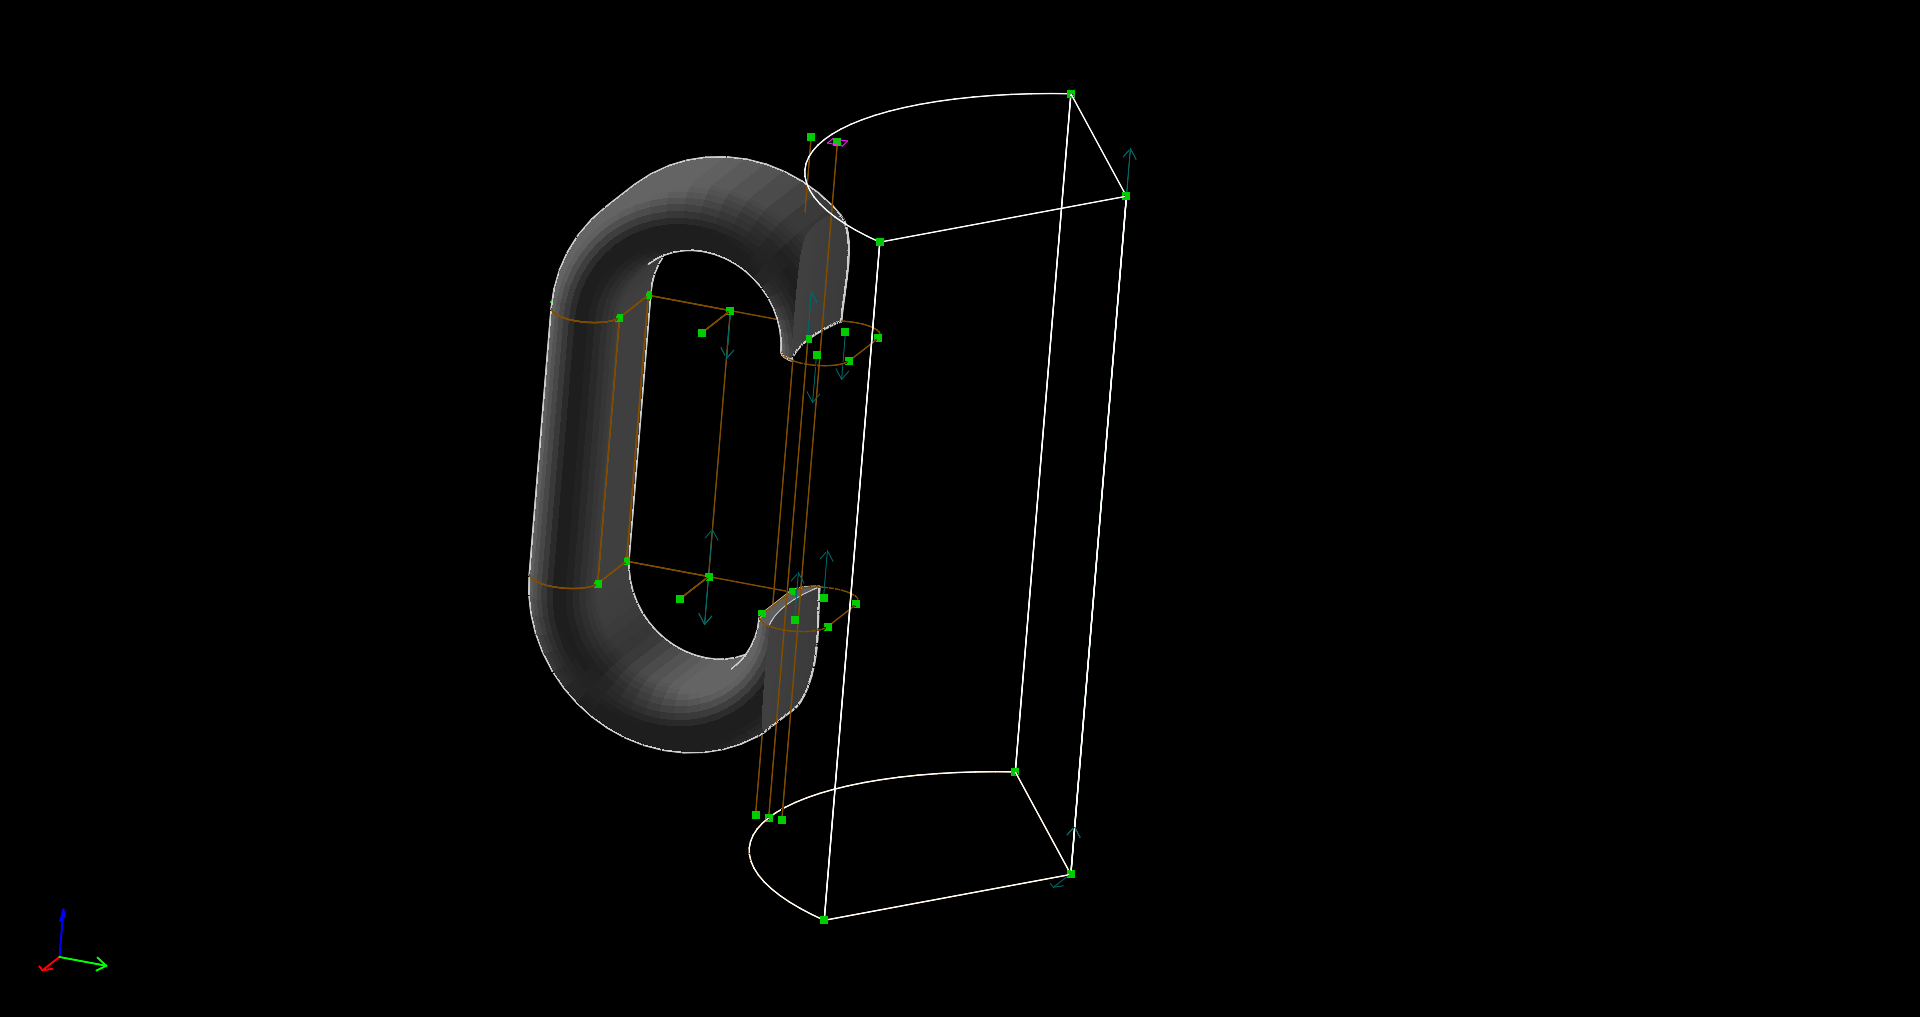
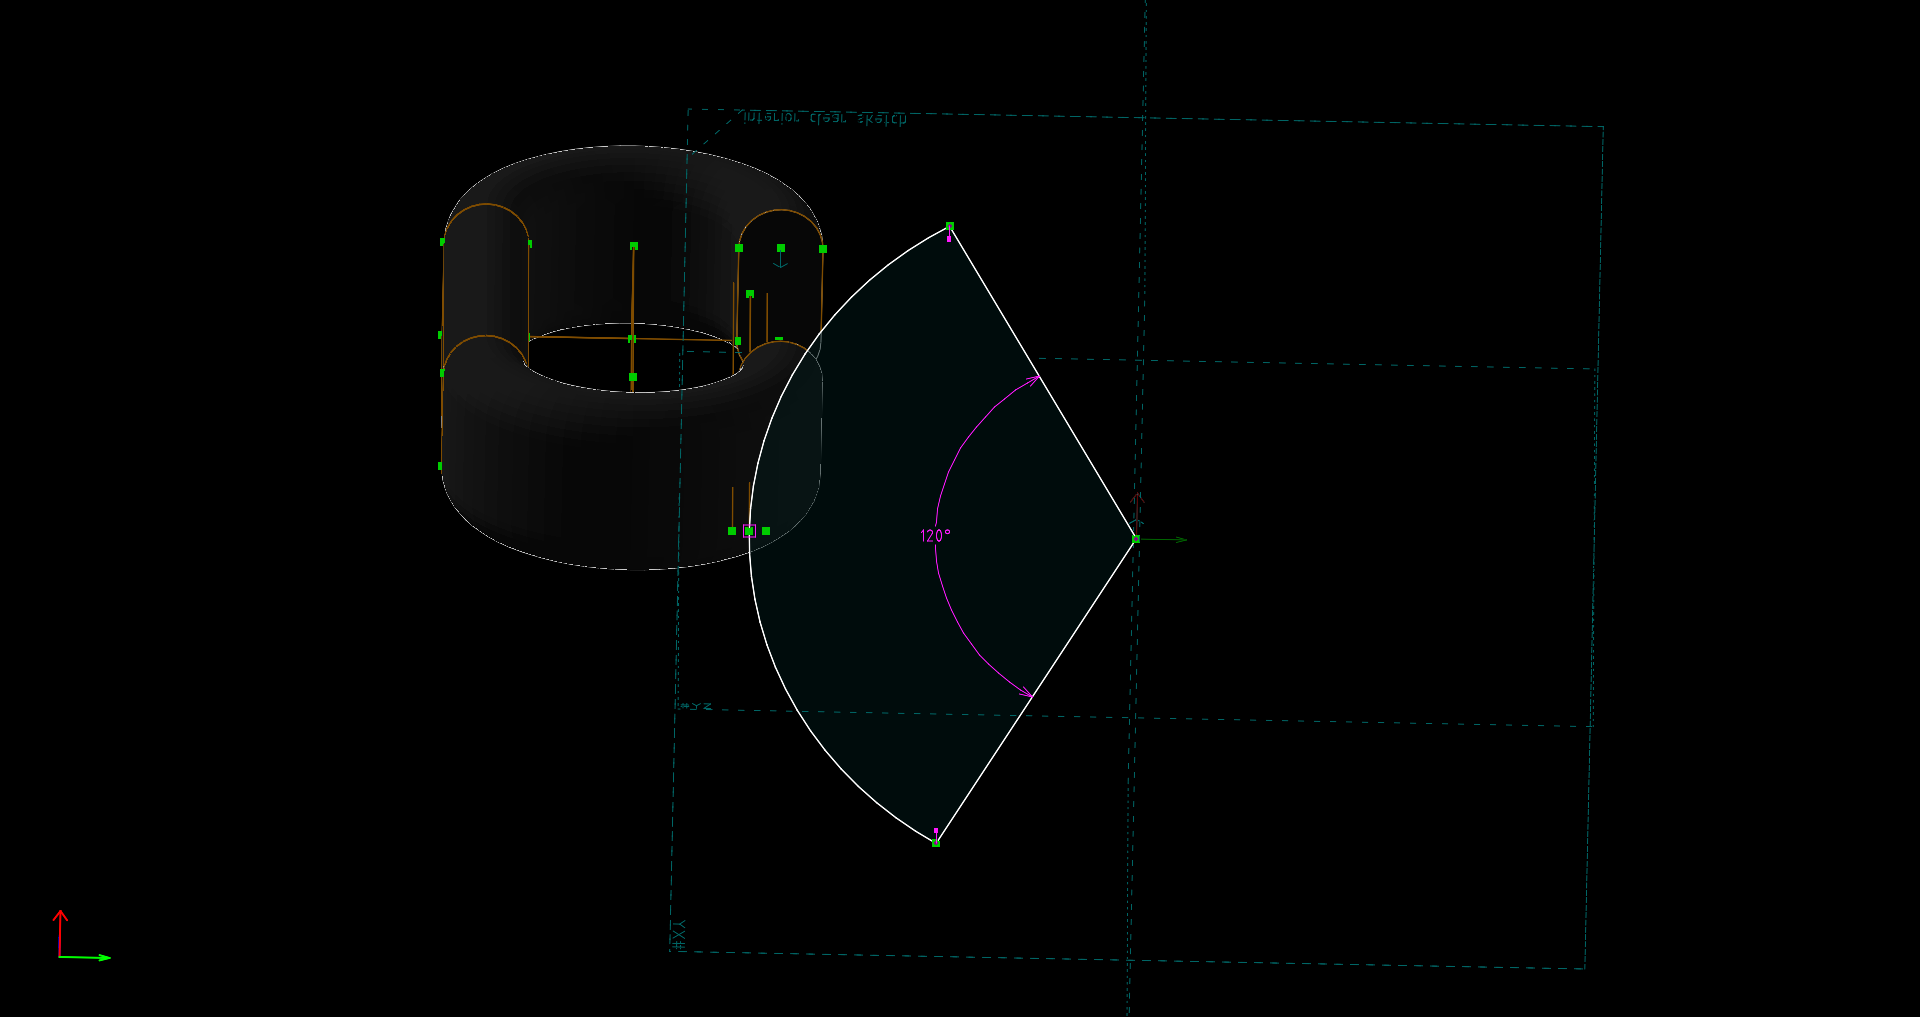
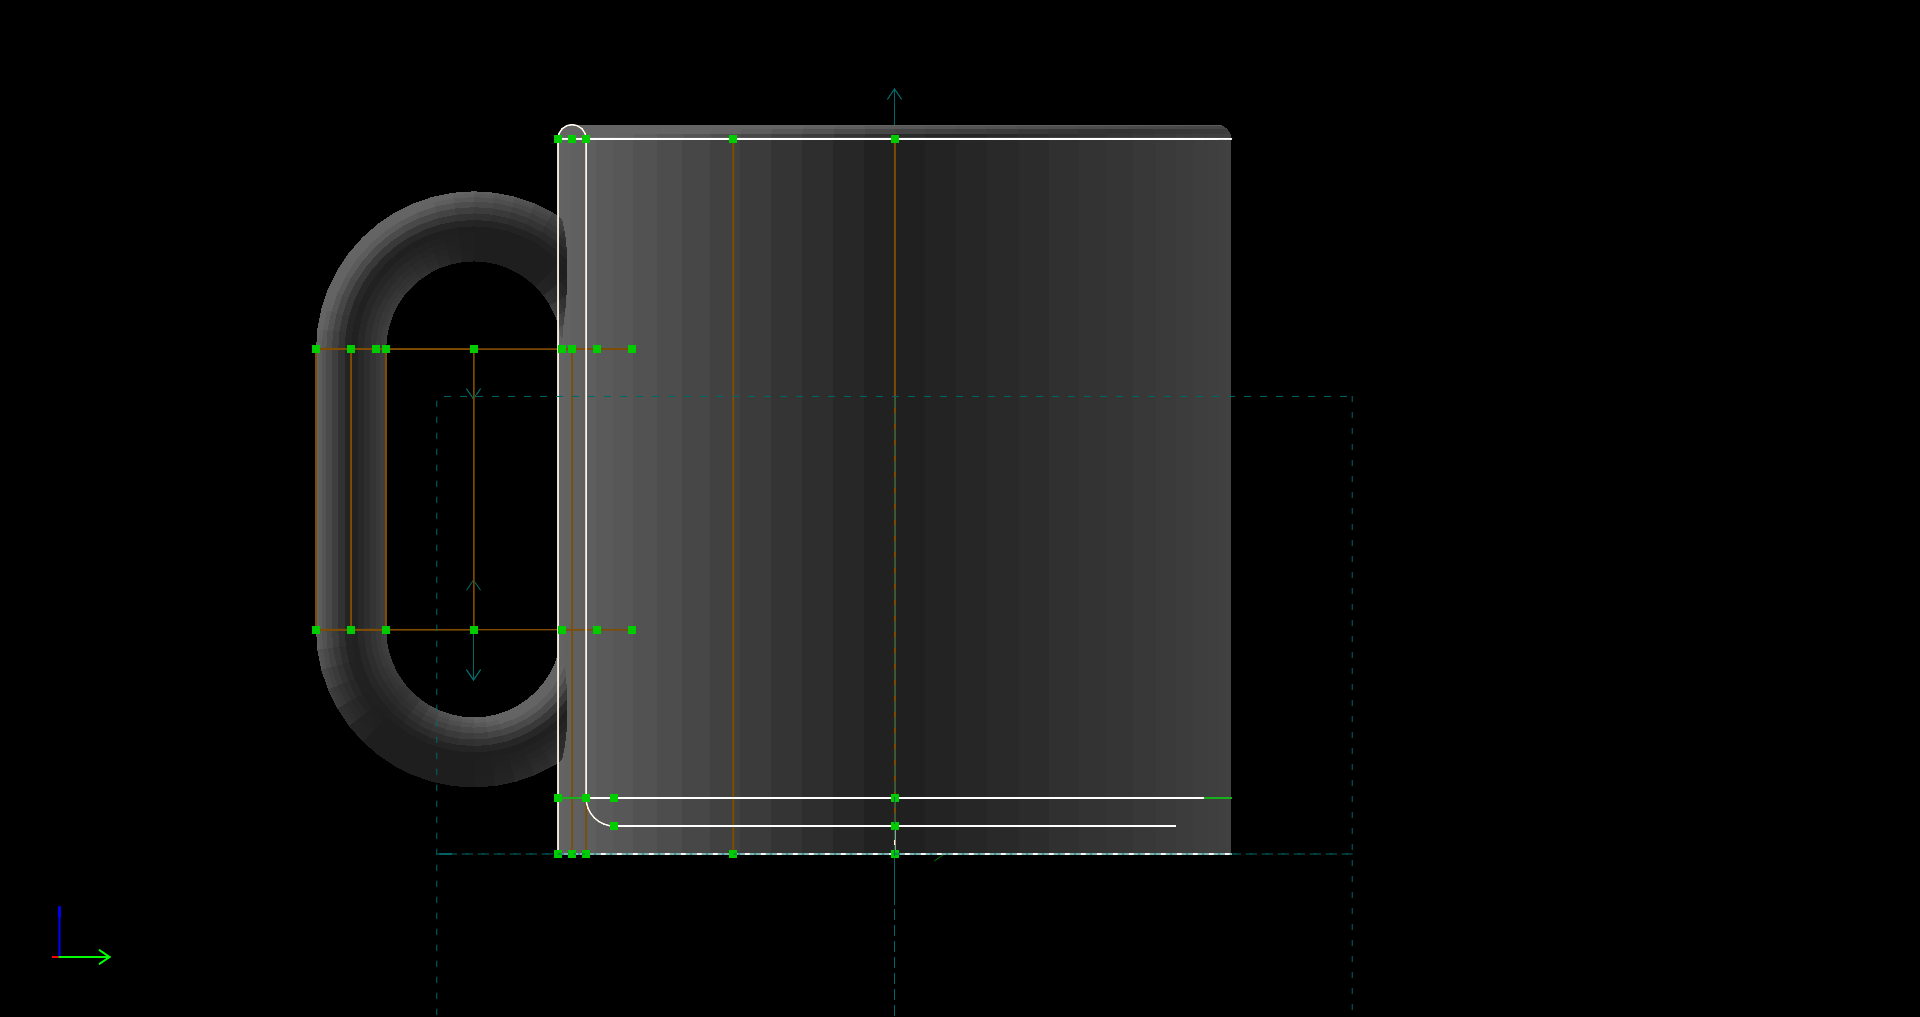
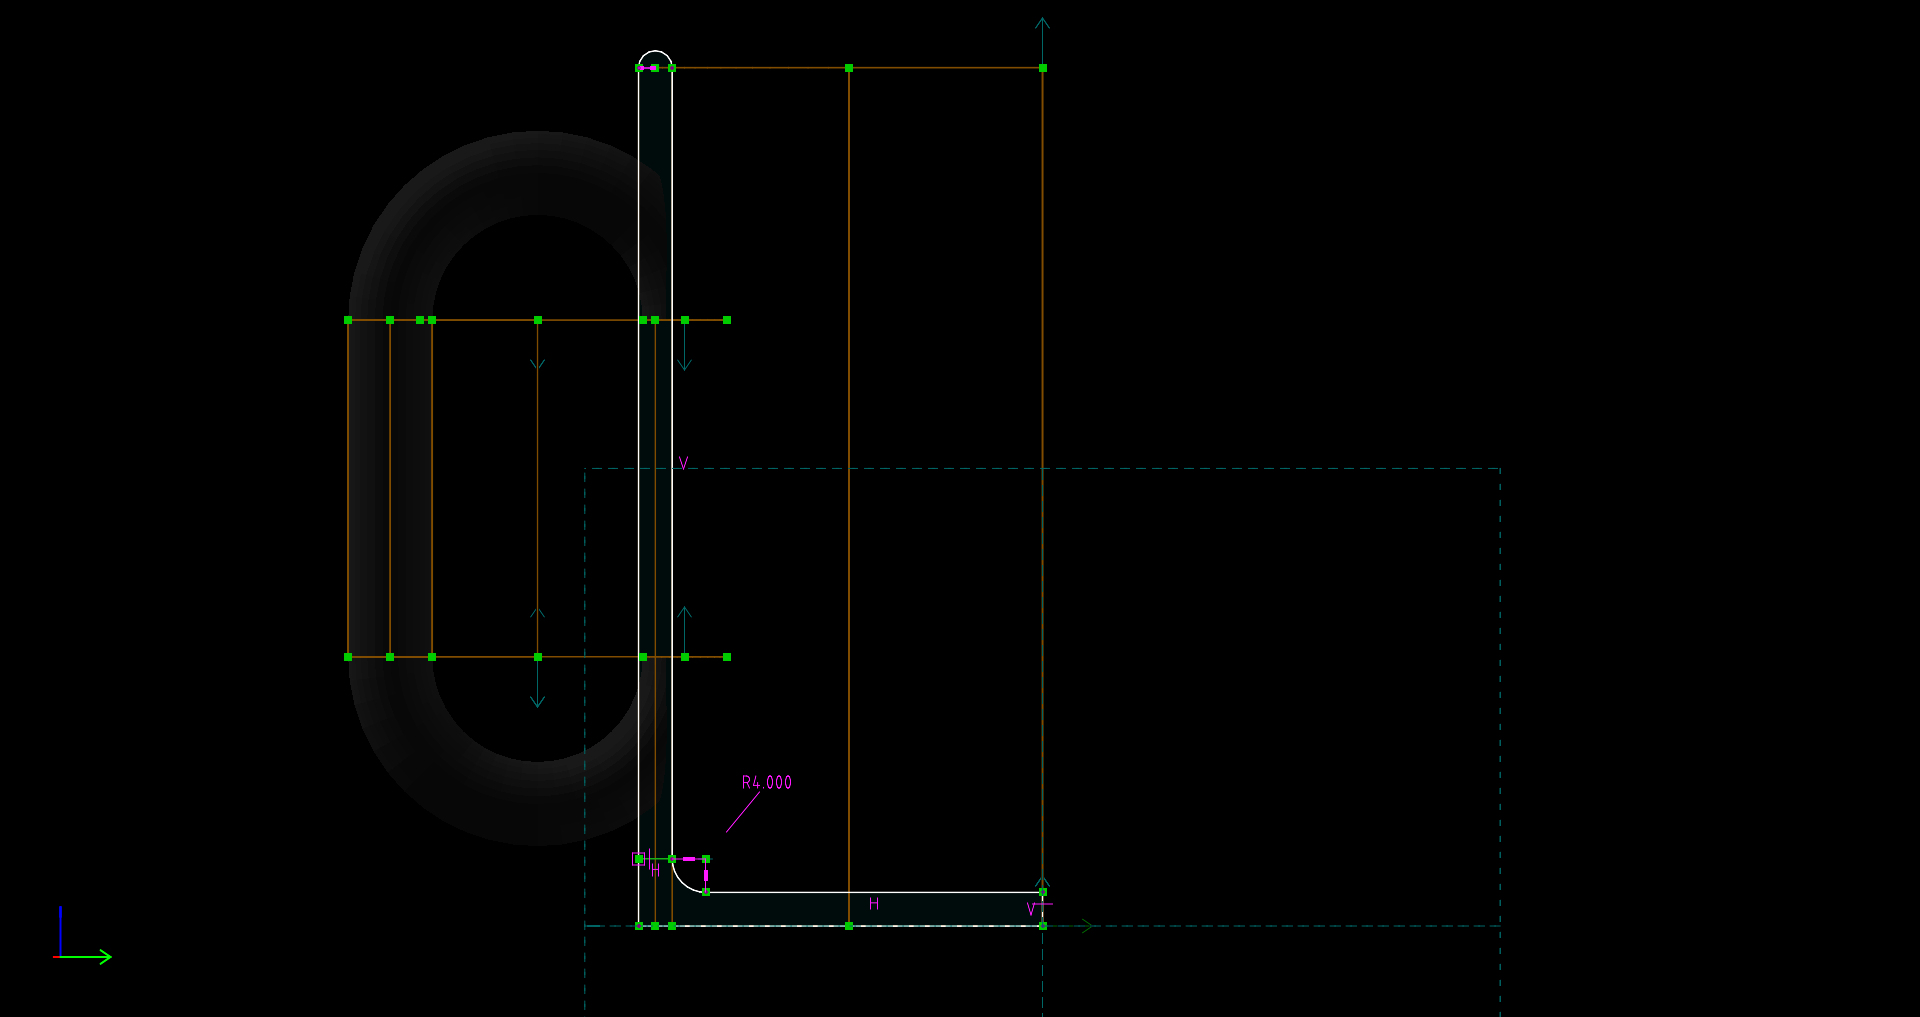
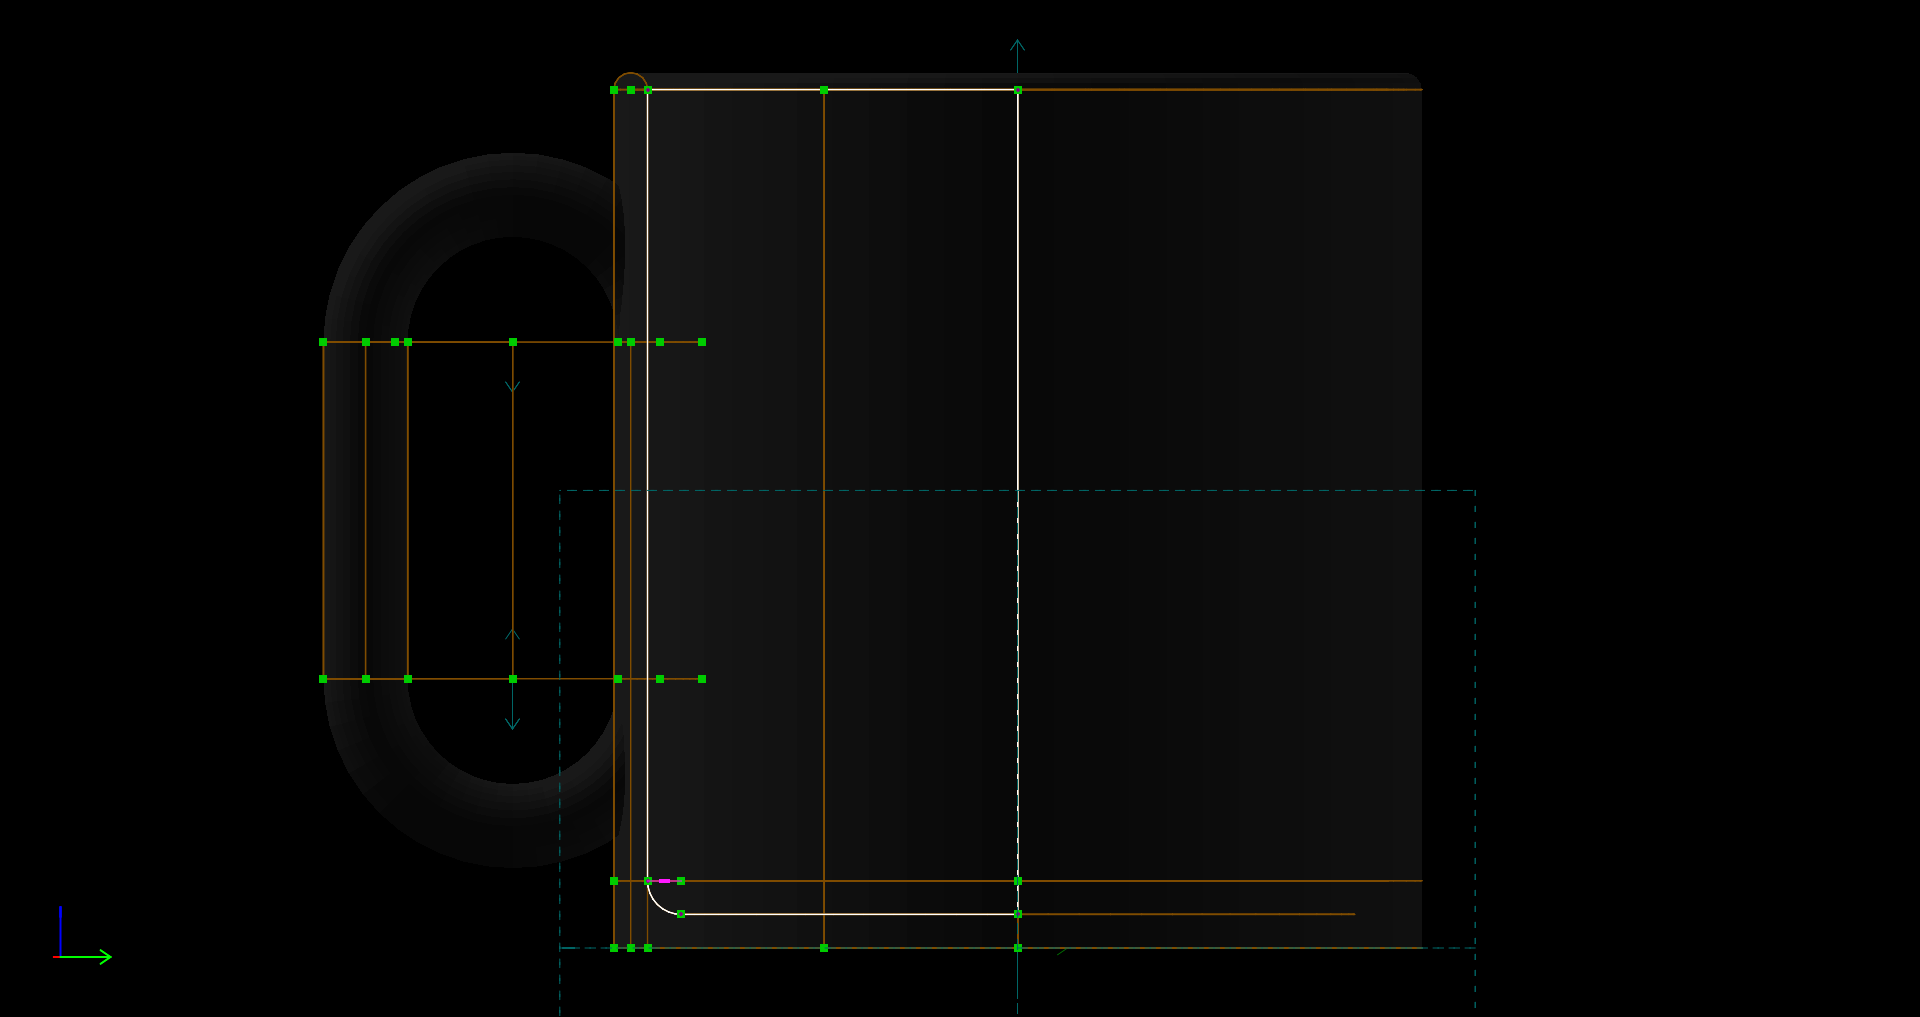
In preparation for the YouTube video of this project, I created images of most of the SolveSpace project groups, to simplify looking up dimensions and other group details. Click the names to see full-size images:
- cup_dimension_reference_diagram.png
- cup_handle_bottom_loop.png
- cup_handle_bottom_sketch.png
- cup_handle_top_loop.png
- cup_handle_top_sketch.png
- cup_handle_vertical_extrude.png
- cup_interior_clear_extrude.png
- cup_interior_clear_sketch.png
- cup_lid_waterproof_dual_gasket.png
- cup_lid_waterproof_single_gasket.png
- cup_profile_lathe.png
- cup_profile_sketch.png
- cup_volume_measure_lathe.png
- cup_volume_measure_sketch.png
- gasket_model.png
| Home | | 3D Printing | | | | Share This Page |